Mola tip: stacking your diffusers
We’ve mentioned a few times on this blog about Mola users using a stacked configuration for their Mola dishes. We’ve had a few people ask what this configuration looks like and how they can setup their dish also like this.
When we refer to ‘stacked diffusers’ we are referencing the installation of both the PAD and OPAL discs in a stacked, or collated configuration.
Here is an image of a stacked setup on a white Mola 22″ Demi…
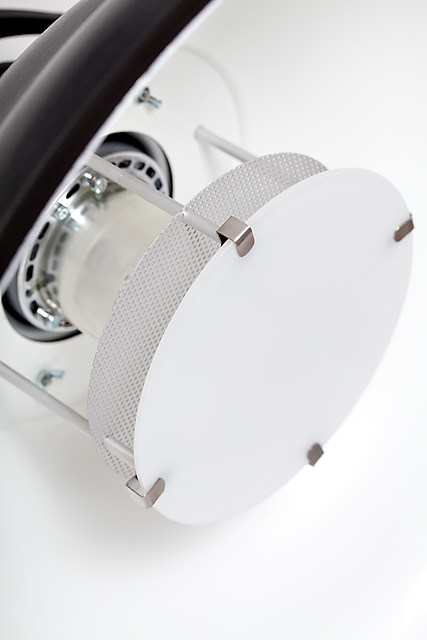
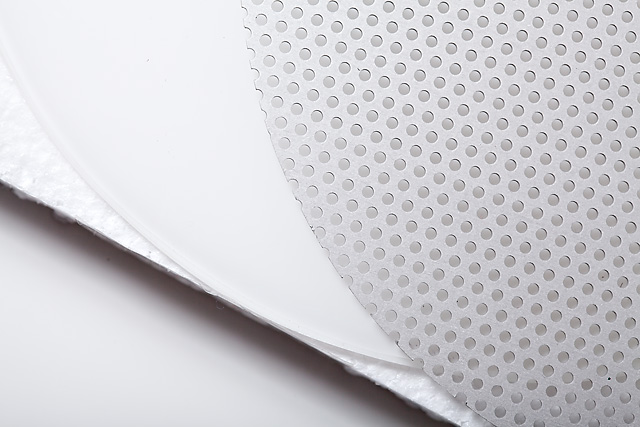
When you buy a new Mola, all of the range (excluding the 33.5″ Beamm) ships with the PAD central diffuser – aka the Perforated Aluminium Disc. This disc looks like a swiss-cheesed metal disc.
Mola also makes an optional OPAL glass diffuser (frosted glass disc) which further softens output through the centre of the dish. This gives the user flexibility for the output they are looking to create.
If we stack the two diffusers, the PAD and OPAL you create an even softer centre-core of light which is favoured by shooters who either have no glass dome over their light head, or like to use the dish unsocked. Also when using HMI or continuous tungsten lighting, it further removes the brighter central hotspot.
click the link below to view the instructions for setting up this configuration…
SETUP:
what you need:
- original mounting hardware that came with your Mola (spacers, screw pieces etc. see photos down)
- Mola dish + PAD
- OPAL glass kit
If you don’t have some of these parts, you can order them new from a Mola distributor such as B&H. (specific links provided above) When you buy the OPAL glass kit, you don’t need the optional stabiliser ring as the PAD acts as a reinforcement to hold the OPAL disc in place.
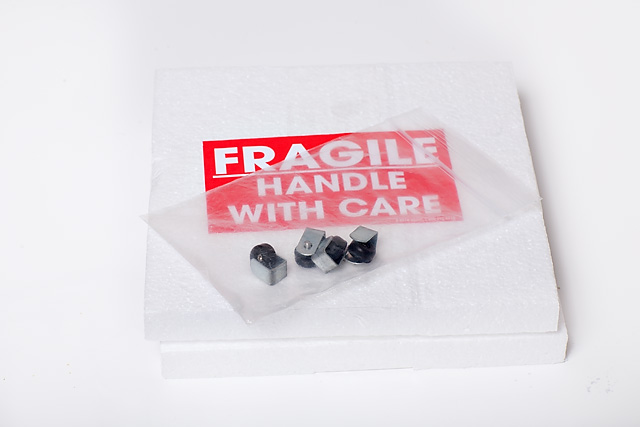
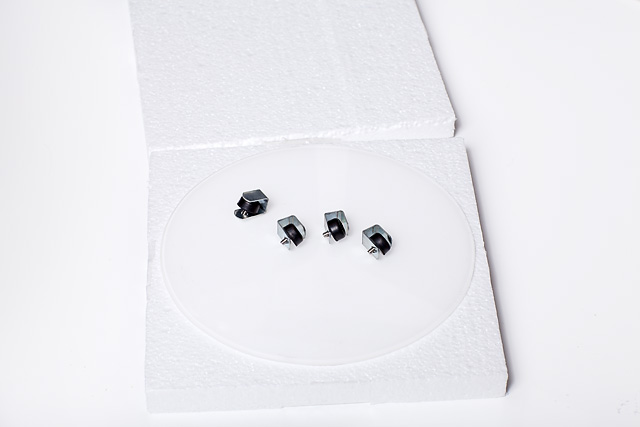
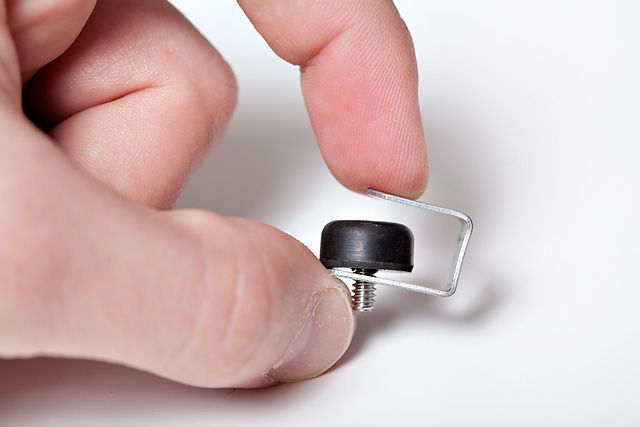
the OPAL disc ships sandwiched between some polystyrene with a set of mounting clips…
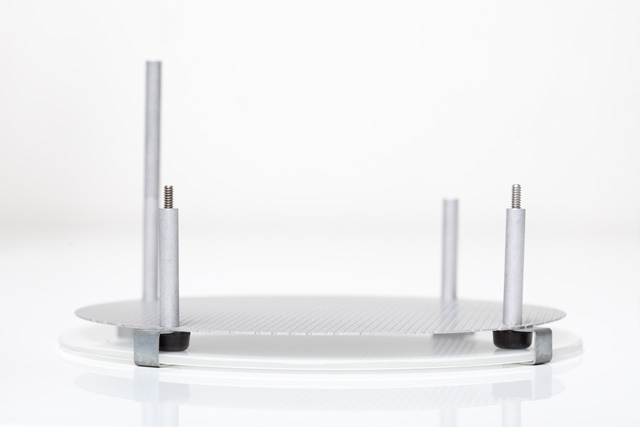
OPAL glass disc under the PAD disc…
So lets build…
The best way to create this configuration is to build it from the OPAL disc backwards. You will find it very difficult to mount the OPAL in between the 4 OPAL mounting clips if you do it around the other way. It’s best to build the configuration separately and then mount the finished setup on the Mola.
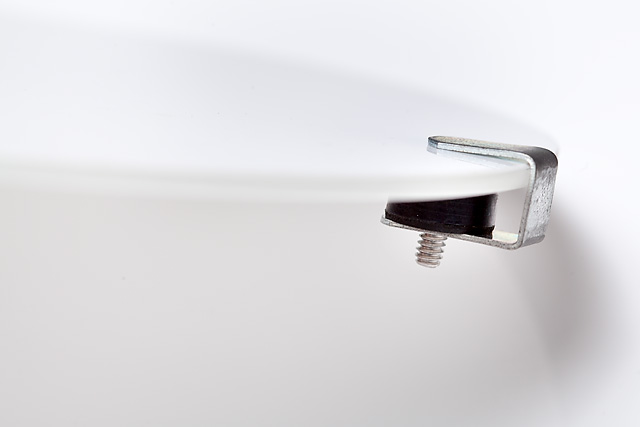
take each of the 4 OPAL mounting clips and bend the top downwards slightly so they will grab the disc without sliding off…
bent and unbent OPAL clip… if you over bend, just bend it back slightly… (we don’t suggest you do it to often)
the clip will now grab the disc without sliding off which makes it easier to build…
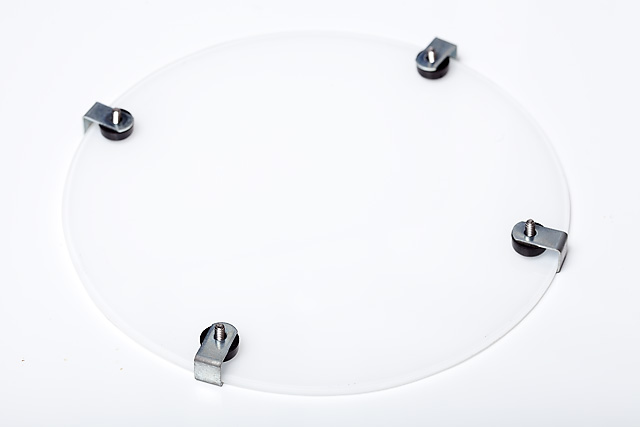
space the clips out around the OPAL disc… (gentle, this is glass and will break with excessive force)
when you bought your MOLA you should have 3 different lengths of spacers and some double-ended screws to customise the spacing of your diffuser from the flash tube. We recommend you have a 1 inch gap between the top of the flash tube and the diffuser to allow for heat to disperse. If you over-space the diffuser away from the flashtube, when you tilt the dish down you may see the flashtube exposed from out the side of the diffuser. This will certainly lessen its ability to soften your light.
the 3 included spacer lengths…
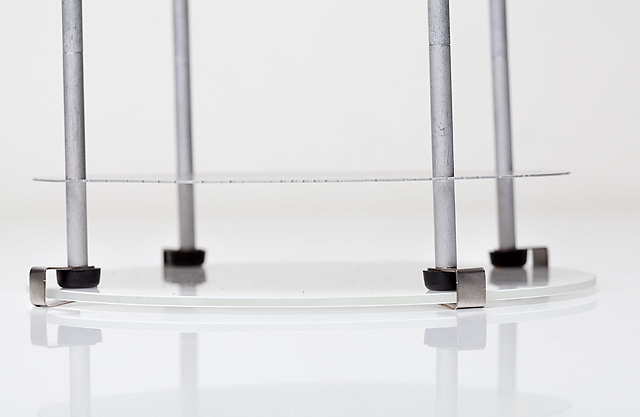
here is an exploded view of one of the stacked setups we will show you – the PAD goes directly after the OPAL using the PAD’s mounting clip screws…
therefore:
OPAL + mounting clips
PAD
spacer 1
screw
spacer 2
we then build up the spacers to our desired height – using the double-ended screws as shown above…
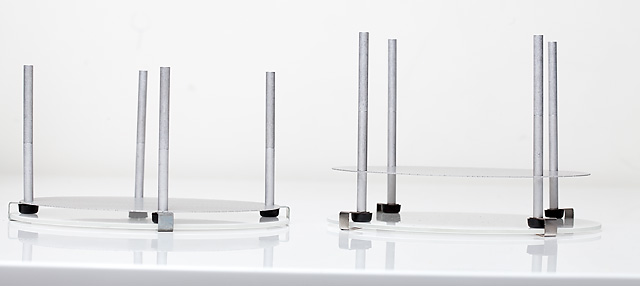
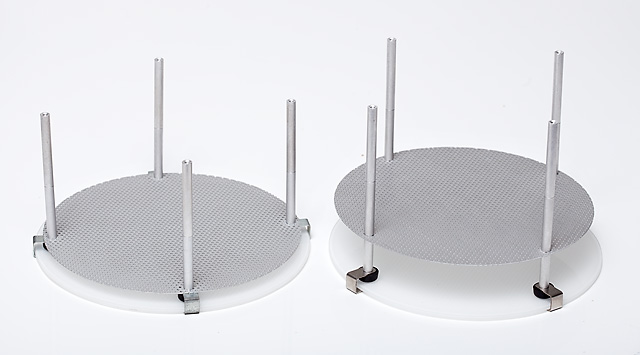
you can also put a further gap between the OPAL and PAD if you have enough spacers…
(this is best for recessed flashtubes & heads without glass domes over the flashtubes – elinchrom etc)
exploded view of this alternative configuration…
the 2 side by side…
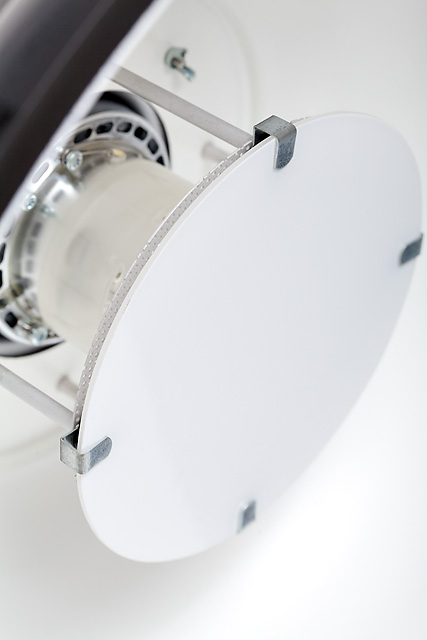
then install the stacked configuration with the 4 original mounting screws that came with your mola. This is best done by holding still the spacer closest to the dish and tightening into it from the back of the dish. In some cases it will try and rotate which can unscrew some of the configuration.
when you install onto the dish, go around and make sure the spacers are tightened onto each other and nothing is loose.
profoto light mounted on a white Mola 22″ Demi…
and the alternative configuration…

so there we have 2 stacked configuration setups for your Mola. There will be a nominal difference between the 2 in actual real world applications, its more about personal preference and what lighting setup you have as to what you can create.
NOTE: the glass disc is fragile and will break if you drop the mola on a hard surface, impale the Mola on something or are generally rough with it. We suggest removal of the glass if you are flying with your Mola.
caveat: Mola reserves the right to change or modify its products & shipping packaging accordingly.





This configuration was used only without the glass on head?
Best Regards!
Andre Wanderley
Hi Andre,
This config can be used by anyone who wants softer light through the middle of this soft light, not just for shooters without domed strobe heads.
Hi,
I did get my setti last week. (August, 18th)
but I did not get one of these. my english is not the best. do you mean that everyone who gets a new Mola will get these 2 things for free?
Best Regards!
Thomas
Hi Thomas
Mola comes with PAD
you need extra OPAL to make this, it is not included.
You can buy it from a Mola seller.
Thnx for the piece you wrote. Do you also sell products of Mola? If yes, do you ship to the Netherlands?
Do I need this if I use the diffusion sock? Does the diffusion sock minimize the center hot spot? Do I need both for a more even light?
The diffusion sock softens overal output across the face of the soft light. The stacked central diffusers are particularly helpful if you have exposed lamp heads (like some of the elinchrom heads) or you are using HMI continuous lighting where the centre of the light is particularly brighter due to the lights nature. Stacking is a personal preference. You can still take amazing Mola shots without stacking.
Can I do this with my profoto beauty dish also?
Does the configuration mean that I wouldn’t need the dome for my Profoto b1?
If you stack the PAD and Opal using the Dome on a B1 is not essential.
It would be optional, however the dome does allow light to be dispersed at 180 degrees inside the reflector creating better elimination and function.